
Backsplash Installation in Toronto — The Strip at Eye Level
The countertop is looked down at. The splashback is looked straight at, from four feet, all day. It is the smaller decision that changes the room more.
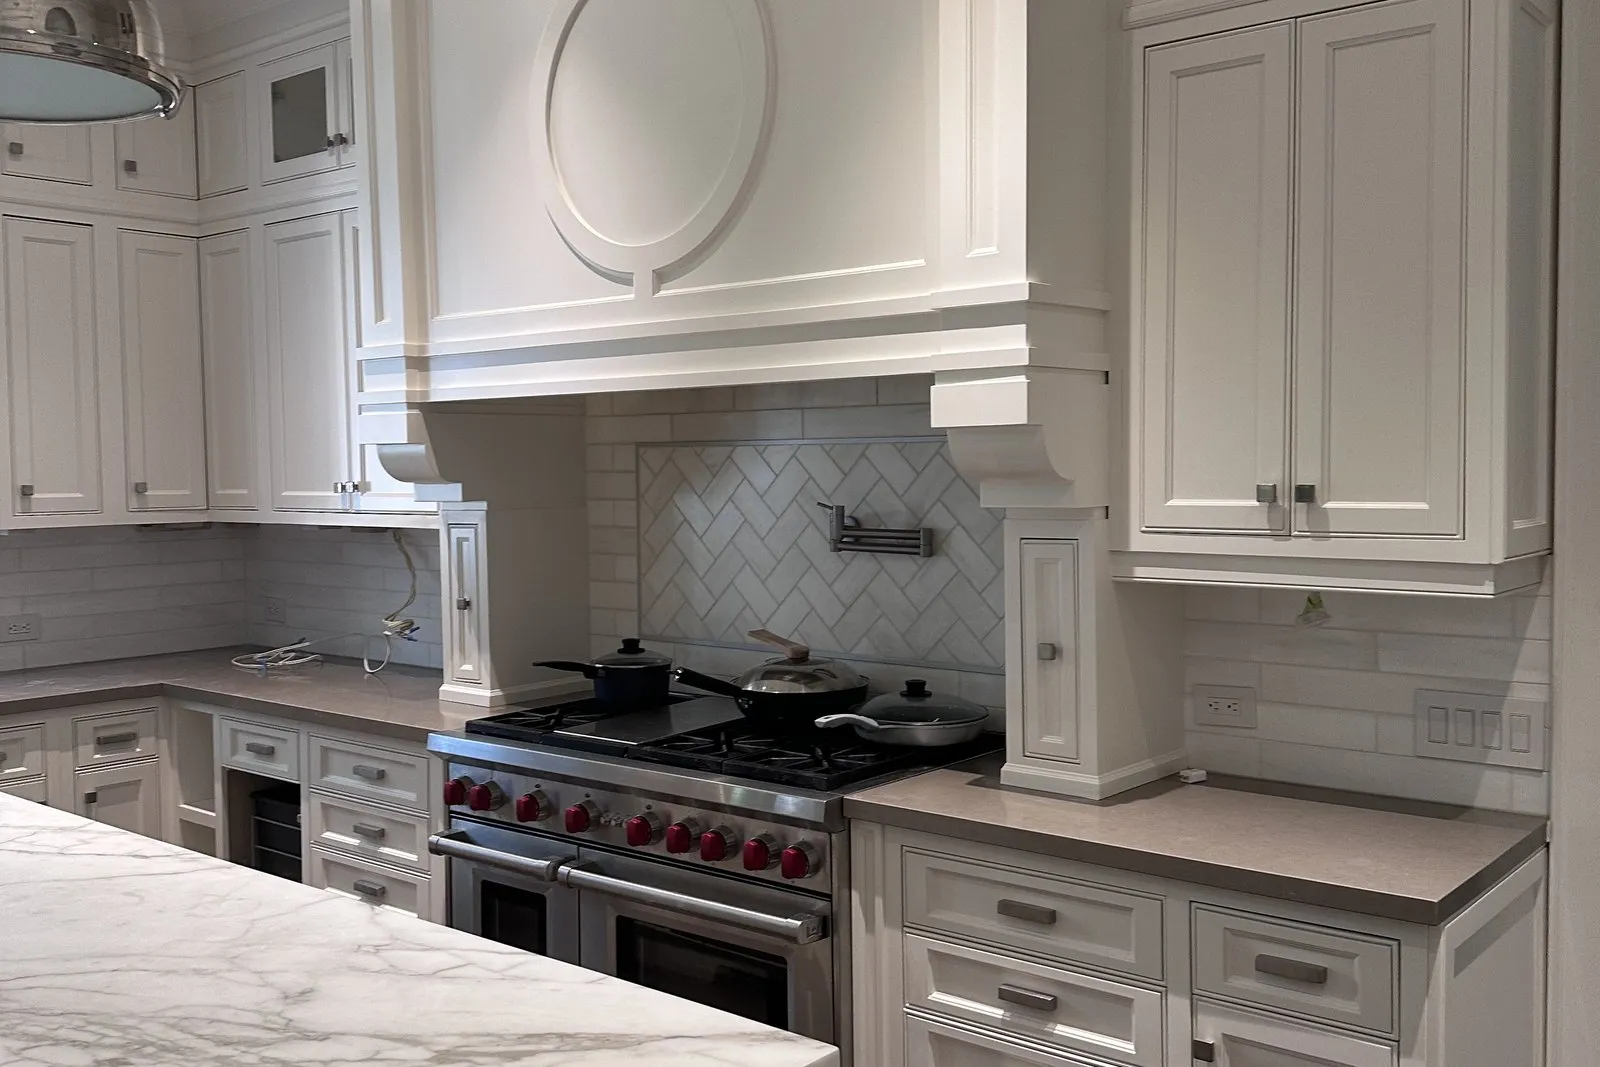
Eye level
Which the countertop is not
Same visit
Fitted behind the stone, not months later
Silicone
At the countertop joint, never grout
5.0
Rated on Google
Why this small strip carries so much
A kitchen has three large surfaces: the cabinet fronts, the countertop and the splashback. The splashback is by far the smallest and it is the only one at eye level.
You look down at a countertop, at a shallow angle, and half of it is covered with things. You look at cabinet fronts as a field of colour. The splashback you look straight at, from about four feet, and it is the surface directly in your line of sight when you are standing at the sink or the hob — which is where people in a kitchen actually stand.
That is why a modest splashback budget changes a room more than the same money spent on the countertop, and it is why a splashback that fights the rest of the kitchen is so hard to live with.
It also has a functional job. The wall behind a hob takes airborne grease and the wall behind a sink takes water, and painted drywall handles neither for long. This part is not decorative.
Stone running up, versus tile taking over
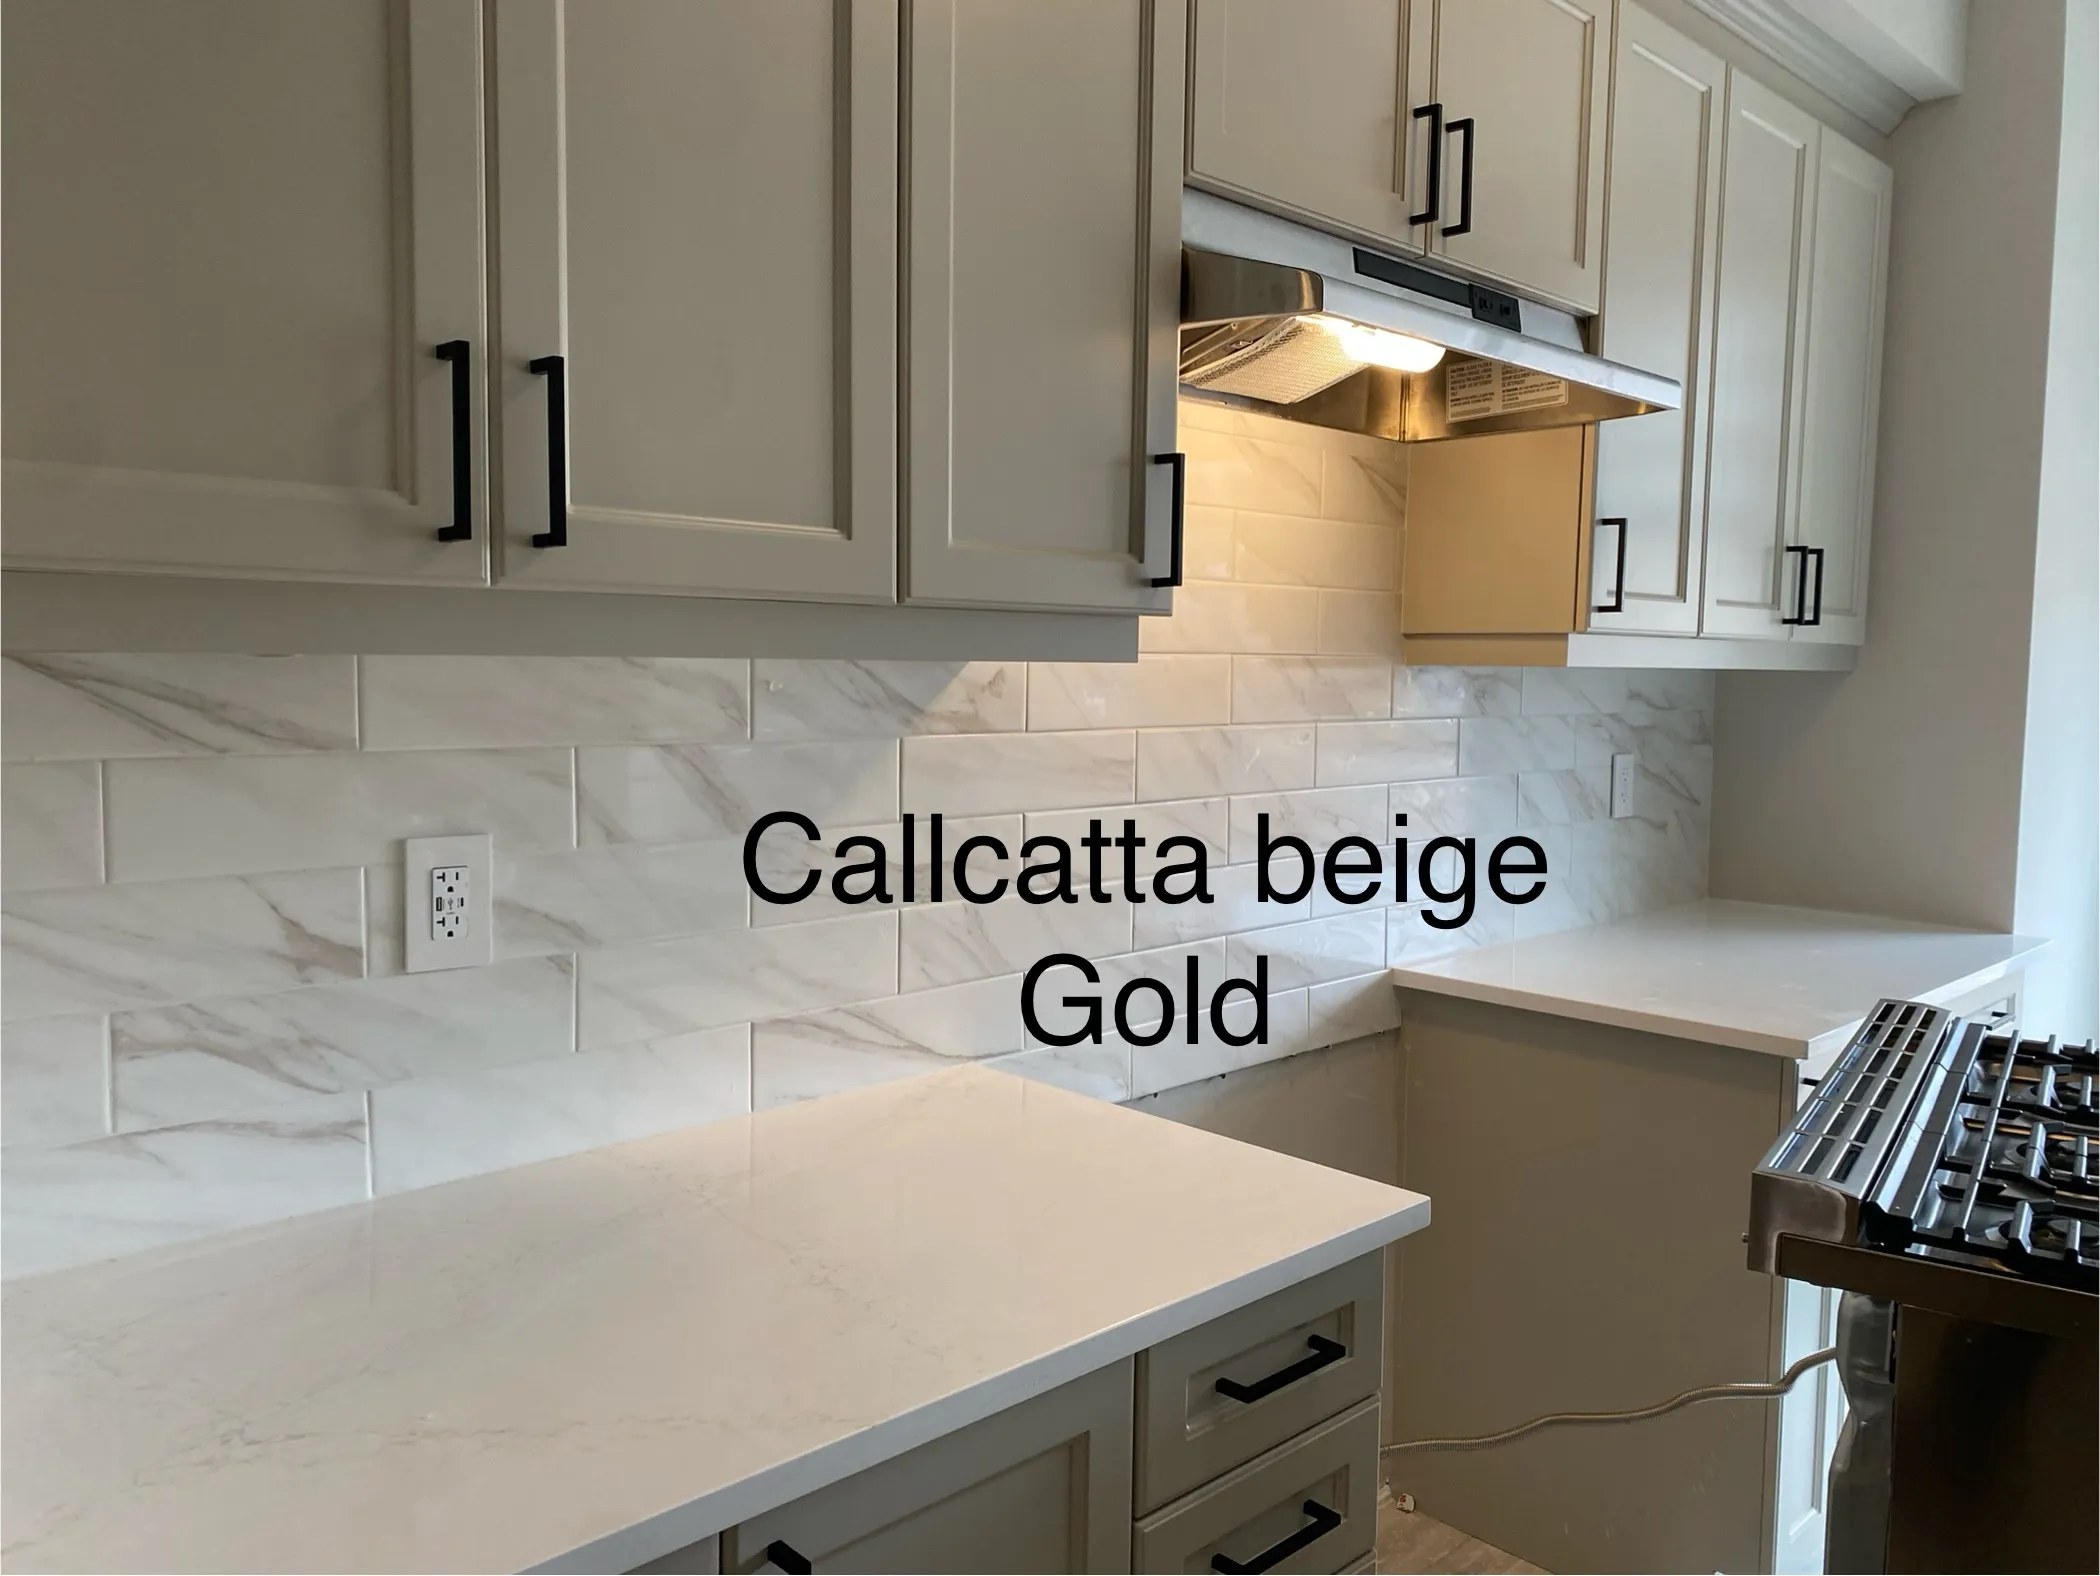
The choice is genuinely between two different intentions rather than two products.
Running the countertop material up the wall gives a continuous surface with no joint and no grout. It reads calm and expensive, because it is — you are buying more of the most expensive material in the kitchen, and cutting it around outlets and window returns is careful work. It is the right answer when the countertop is the feature and you want nothing competing with it.
Tile is the opposite intention: the splashback becomes its own element. It is considerably cheaper per square foot, it offers pattern, texture and colour the stone cannot, and in a kitchen with plain cabinets and a plain countertop it is often the only thing in the room with any character.
The practical trade-off is grout. Tile introduces grout lines behind a hob, and grout behind a hob collects cooking residue and needs cleaning. Epoxy grout largely solves this and costs more; cement-based grout is cheaper and will discolour.
There is a third option people forget: a short stone upstand — a hundred millimetres of the countertop material — with painted wall above. It protects the junction, it reads clean, and it is a fraction of the cost of either full-height option. In a kitchen where the budget is tight and the countertop is good, it is frequently the best value on this page.
Why it belongs in the same visit as the stone
Splashbacks get deferred more than any other part of a kitchen and it is the deferral that costs money.
The template that produced your countertop already measured the wall. The fitter is already in your kitchen with the stone. The junction between countertop and wall is about to be sealed. Doing the splashback then means one set of scribes, one sealing, and one disruption.
Doing it three months later means somebody comes back, works around a finished countertop they now have to protect, cuts the existing silicone out of the junction and redoes it, and matches a wall line that was set by somebody else. It is more labour and the junction is never quite as good as one made in a single pass.
There is a scheduling wrinkle worth knowing. Full-height stone splashbacks are cut from the same slab as the countertop and arrive with it. Tile is fitted after the countertop is in and set, usually the following day, so a tiled splashback adds a day rather than a week — but only if it was in the plan.
The cheapest splashback is the one specified with the countertop.
Outlets, windows and the details that decide it
The bits that make a splashback look considered rather than applied.
Electrical outlets are the most common problem. A splashback interrupted by three outlets at different heights looks like an afterthought regardless of the material. Where they can be moved, moving them is an electrician's job and worth it. Where they cannot, tiles get cut around them symmetrically rather than wherever the cut falls, and the plate colour gets chosen to disappear.
Window returns are the other one. A splashback running into a window reveal has to either stop cleanly at the reveal or wrap into it, and both look deliberate. Stopping halfway does not.
Then the setting-out. On a tiled splashback, where the first tile starts decides whether you get a sliver-width cut at one end. Setting out from the centre of the hob, or from the sink, so the cuts land equally at both ends, is five minutes of thought that shows for the life of the kitchen.
And the top edge. Under a wall cabinet it is hidden. Where it runs past the end of the uppers, it needs a stop — a trim, a bullnose tile, or a clean silicone edge — rather than simply ending.
The splashback is decided with the countertop or it is decided badly
A splashback has to answer to the countertop it sits on, the cabinets either side and the light in the room. Choosing it separately, weeks later, from a different supplier, is how a kitchen ends up with three surfaces that each look good alone. Reading why the stone and the wall behind it are one conversation covers how the stone and the wall behind it get specified and scheduled together.
Backsplash Installation Cost in Toronto
Priced by the square foot, with the material and the labour separated, plus a line for any wall preparation.
Material spread is wide. Ceramic subway tile is the cheapest thing on the list. Porcelain, natural stone tile and glass go up from there. A full-height stone splashback in the countertop material is the most expensive by a distance, because it is more of the slab plus the cutting.
Labour follows complexity rather than area. A straight run behind a counter is quick. A run with three outlets, a window return, a hob niche and a mitred external corner is several times the work in the same square footage. Herringbone and other patterned layouts add labour because of the cutting at every edge.
Wall preparation is the line that varies most between houses and it is the one worth photographing for. A flat, sound wall needs nothing. A bowed plaster wall in a 1920s semi needs work before any tile is set, and pretending otherwise produces a splashback that shows every dip.
Grout is a small line and worth spending on. Epoxy behind the hob at minimum.
Written price inside 24 to 48 hours from photographs, with both the stone and tile options costed so the comparison is real. Cash, debit, credit and Visa.
Questions
Common questions about backsplashes in Toronto
- Stone or tile — which should I choose?
- Stone if you want the countertop to continue and the look to be seamless, and it is the more expensive option. Tile if you want the splashback to be its own thing, which is cheaper and more interesting. The practical difference is a grout line behind the hob that will need cleaning.
- Can the splashback go in later?
- It can, and it costs more and turns out worse. The stone template already knows the wall; doing the splashback separately means a second visit, a second set of scribes, and a junction at the countertop that was sealed once and now has to be unsealed and redone.
- Do I need a splashback at all?
- Behind a hob and a sink, yes — those walls get wet and greasy and painted drywall does not survive it. Elsewhere it is a choice. Some kitchens look better with a short stone upstand and painted wall above, and that is meaningfully cheaper than a full-height run.
- What about grout going mouldy?
- Grout choice matters more than people think. An epoxy grout resists staining and mould far better than cement-based and is worth the difference behind a hob. Silicone goes at the countertop joint, never grout, because that junction moves and rigid filler there cracks within a year.
- Can you tile up to the ceiling?
- Yes, and in a kitchen with open shelving or no uppers on one wall it is often the right answer. It costs more in material and labour and it needs the wall to be flat, which in an older Toronto house frequently means some preparation before any tile is set.
Deciding between stone running up and tile?
Photograph the wall between your countertop and uppers on every run, including behind the hob. The written price covers both options separately, so you can see the difference before choosing rather than after.
Free in-home consultation · no obligation
Refaced. Repainted. Refinished.